So I kind of making it up as i go. And it is quite a challenge since I like my product to look like futuristic and clean. therefore I start up just building a container to hold my arduino board, and I started from that point slowly adding more components to it.

At this point, I have everything mocked up and soldered to a prototyping shield for Arduino, that way I can have a nice even platform to work on and can still use my arduino board for future project.
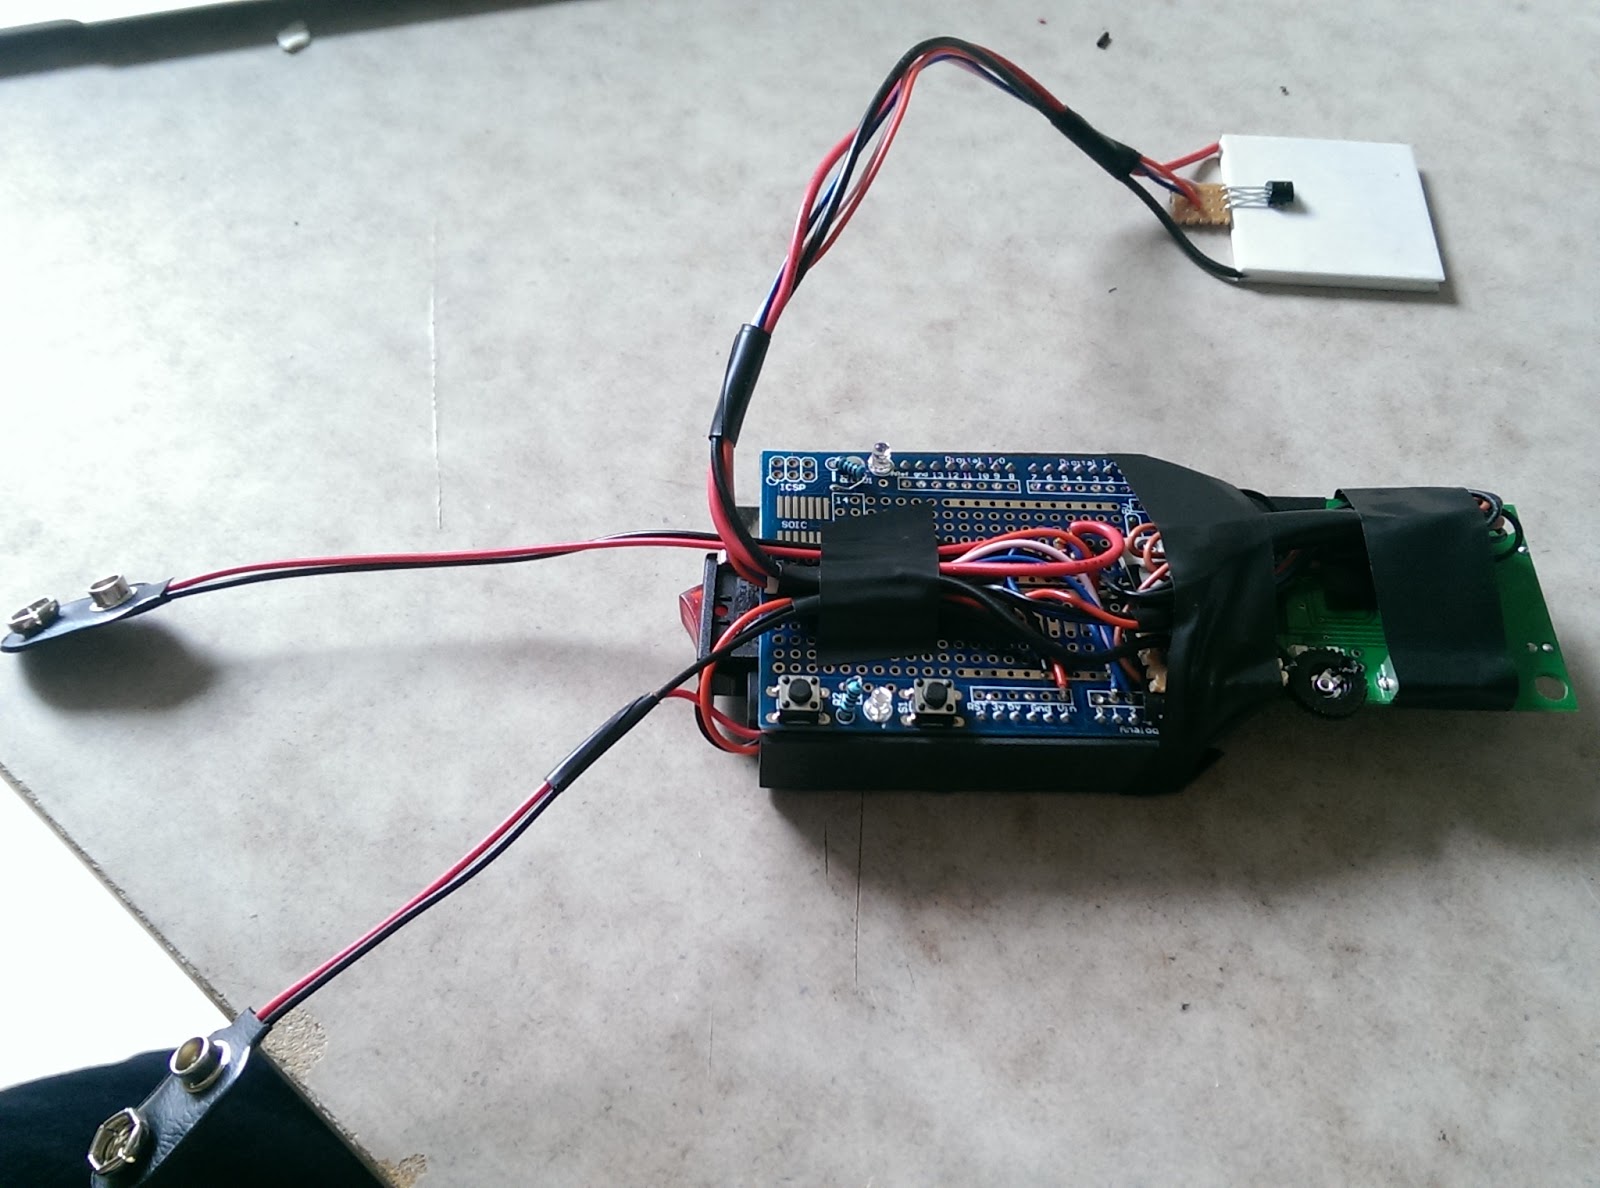
I attached my radio wave detector to arduino board and that whole piece will be the main body of the product.


The white square is my peltier unit, and a temperature sensor attached on the "heat" side to monitor the temperature.


Attached a switch to the rear of the body, the switch turns on the arduino and the detector but it also acts as a safety should the user cannot stand the heat, they can shut it down immediately.

Test the thing every now and then during the making process is extremely important, as I had some awful experience when I finished everything then to find out some wired has come off the solder, a real pain. That is why carefully put everything together and making sure nothing is wrong can save you a lot of time when building projects like this.(for some reason on the the LED doesn't lid, couldn't do much with it as it's built inside the detector circuit board).


This two photos are sort of fail example. This is when I attempted to attach the body to an arm strap sort of thing and failed. I did not use this material in my final product but it's worth recording it as I spent so much time on how make it.


This is when I started to paint the final product, I did this several times, paint on and using sand paper to sand it of, to create a much nicer and even finish.

And this is the final product photo, I tried to make it as professional as I could. I am glad that I didn't fail that much, still lots of room for improvement, but at least didn't fail that much.
No comments:
Post a Comment